CloudTDMS Quick Guide
Creating your new CloudTDMS account
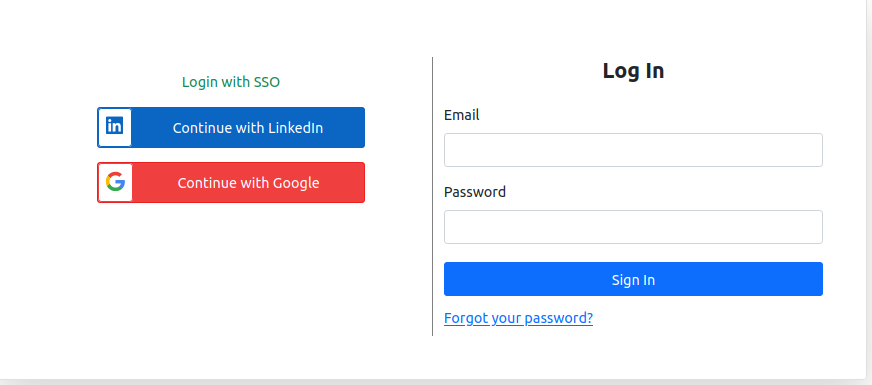
To create a new CloudTDMS account, you'll need to use a unique email address not already used in CloudTDMS or Sign-in with Google or LinkedIn SSO. Go to www.cloudtdms.com/register and enter your information to complete the signup. Check your email to confirm your new account. All set!
Creating a new Appplication
 Applications are just the containers for all your project's data.
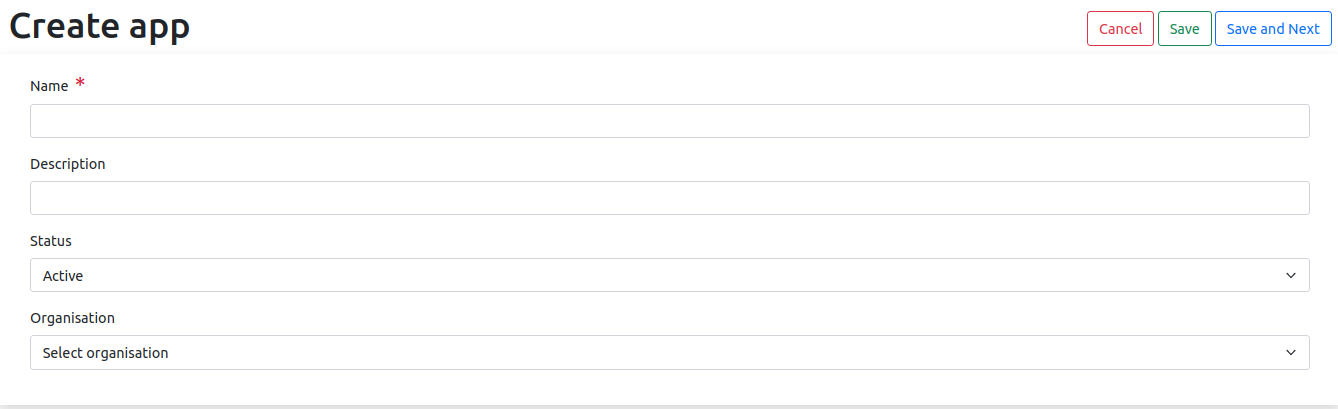
- From your Dashboard, Click on Applications
- Click on Create new button
- Enter required details and click on :
- Save to simply create your new application
- Save and Next to create your new application and jump to next step (create a new stream for this application)
Creating a new Stream
 Streams are basically the configuration of the data that you want to generate, could be a file, table or object. An application can contain multiple streams.
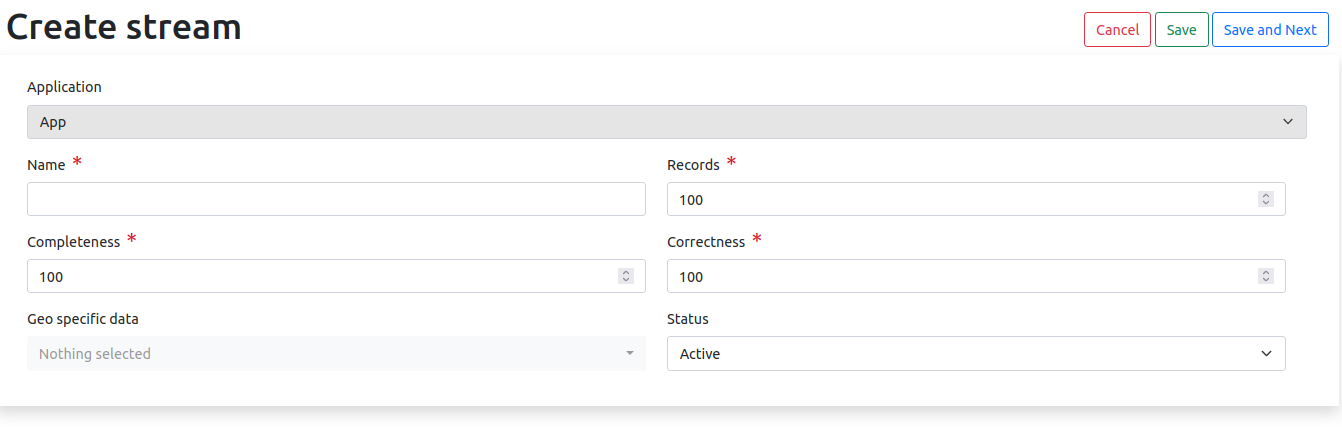
- Click on Add stream button.
- Enter required details and click on :
- Save to simply create your new stream
- Save and Next to create your new stream and jump to next step (create attributes for this stream)
Defining your Attributes
 Attributes are simply the columns in the stream. A stream can contain multiple attributes.
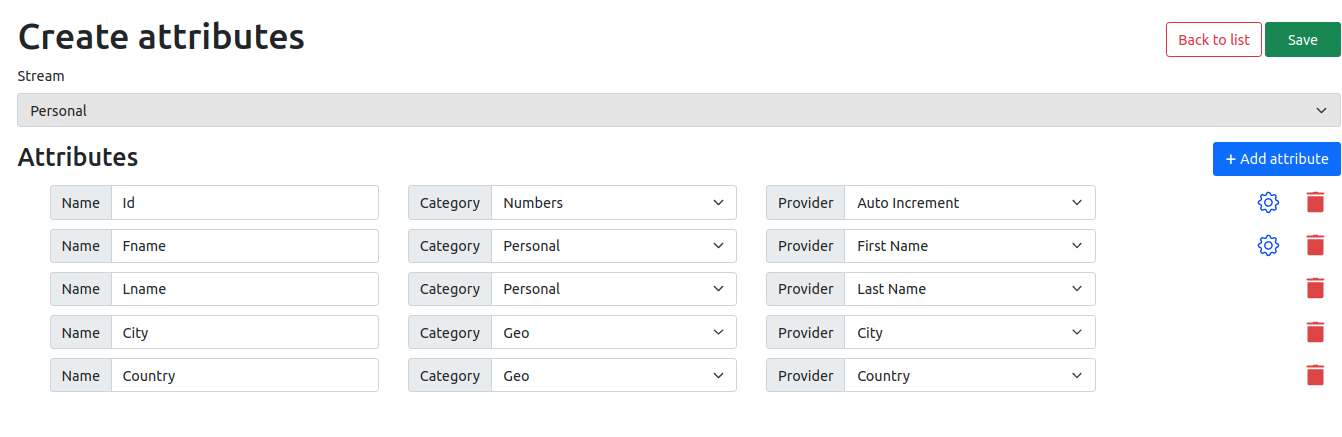
Export a file
You can export the current file by clicking Export to disk in the menu. You can choose to export the file as plain Markdown, as HTML using a Handlebars template or as a PDF.
- Click on the Add attributes button.
- Enter the details of your attribute and click on Save button.
Important notes :
- Name: This will be the name of the column in SQL table, header in CSV, key in JSON and tag in XML.
- Category: The Synthetic data category you want to generate data from. For example, if you want to generate Personal data like first/last name , you will select Category as Personal.
- Provider: The exact data provider you want to generate (i,e : first name)
- Additional options (blue gear) will allow you to fine tune your data provider (i,e : male only)
Scheduling your Workflow
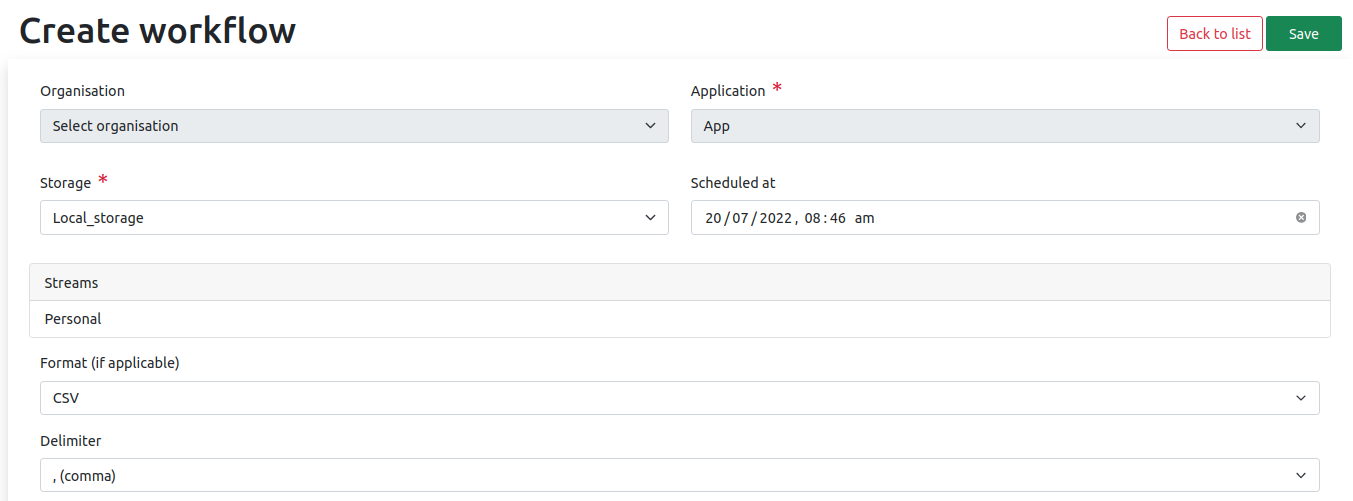 Workflows tells CloudTDMS back-end system that you want to generate data for an application. Assuming you are following the steps from the beginning, you can now create a workflow.
- From your Dashboard, Click on your Applications.
- On the application view list Click on Create workflow button.
- Enter required details for your workflow and click on Save button.
- You can get generated data via workflow details or by selecting “Data ➔ Data Generated” in the top navbar menu.